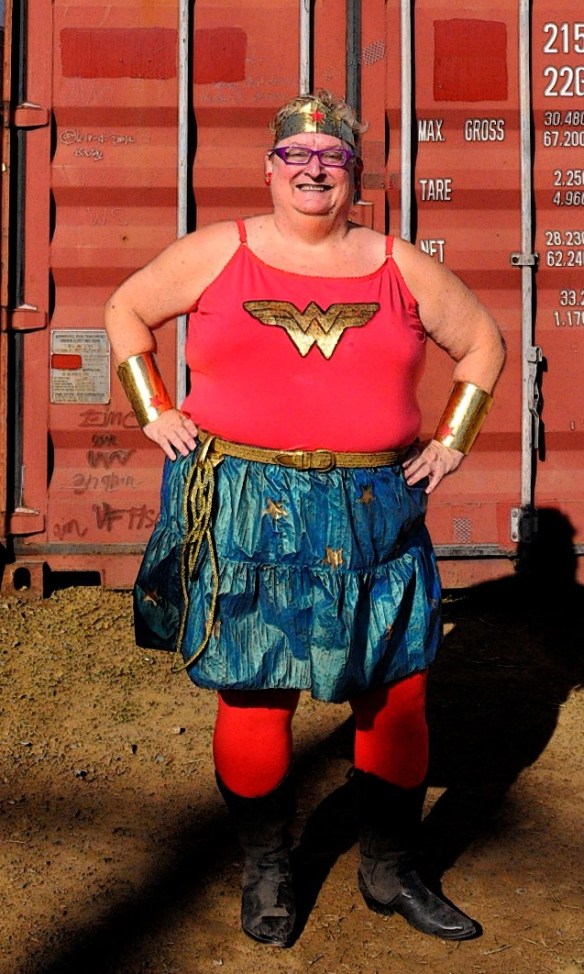
 I got it in my head that I wanted to be Wonder Woman for Halloween this year and I could not find a costume large enough so I made my own. I wore it to a little art event on Sunday. I had fun in my costume and I have included a little tutorial below. Ciao Bellas…affinity
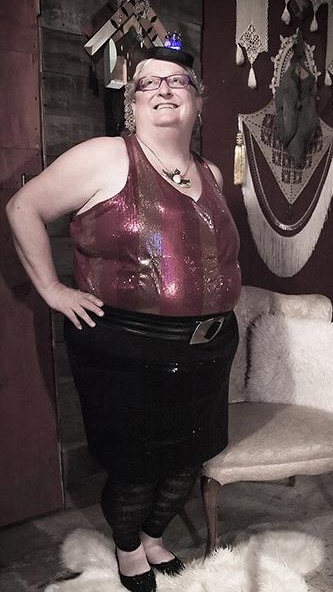
Cami: Avenue Size 26-28
Skirt: Kmart Love Your Style, Size 3X, elastic waist, not fitted skirt
Boots: Lane Bryant Size 10W, over 30 years old
Tights: We Love Color, Size C/D
Belt: Bob’s Belts, Size 3X, I have worn these belts for years, they are comfortable but the 3X is the largest, and it just fits my size 28 waist, even with the stretch.
Wonder Woman Lasso: Amazon, I purchased it since it could be purchased as a standalone accessory and size was not an issue. I taped the ends together but next time I wear it I will attach the tacked ends of the rope to the inside of the little hanger loop that was provided so the rope stays in four little loops.
I considered purchasing the Wonder Woman accessories but I found them to be either VERY expensive or made from felt for $8 or $10. I did not like either option so I decided to make my own.
1. Wonder Woman Top: I found a Wonder Woman logo which I printed, cut out and cut on all of the black lines and then drew all of the black lines on the cami using a black Sharpie. I used gold leaf because I have gold leafed for years, but it would have been much easier with gold fabric paint like Pebeo. It dries well and is easy to use. Like most fabric paint it can be fixed by either ironing (cotton position), for 5 minutes, on the reverse side of the fabric; or in the oven, for 5 minutes at 300˚. Of course you could use any red t-shirt, I happened to have the cami and I like sleeveless tops because I get too warm.
I just found this Wonder Woman t-shirt at Torrid. I generally wear their 4X in tops, but it also comes in a 5X, it would be a good base for a casual costume.
2. Wonder Woman Skirt: For the skirt I used a black skirt I had (I used it for my bee costume this summer) and used fabric paint to paint it blue. I liked the effect but it of course would be MUCH easier to use a blue skirt. I also found more traditional fabric (royal blue fabric with white stars, like the American Flag) but since I do not sew, making a skirt was not an option. I also found some larger skirts at Jessica London that might have worked but by then I had run out of time. I purchased a star stencil and used gold spray paint, but a better choice would have been non-spray fabric paint since you would not have an over-spray problem.
3. I found a tiara template, so I used it to cut out the cardboard. Then I gold leafed it and used the red star from the template and just glued it on. I used Velcro to fasten it in the back and this template was more than large enough for my head, which I found surprising, but I tightened it a little too much. After I wore the tiara the first time I trimmed about 1/4 inch along the bottom edge. It was much more becoming, sorry I did not get a photo of the change.
4. For the cuffs I just wrapped some cardboard around my arms and cut it out and gold leafed it. I then printed the tiara template a couple of more times and cut out the red star and glued it to the cuffs, although you could just trace around the star from the tiara template and color it in.
5. The belt I painted with gold spray paint although of course it would be easier to just wear a gold belt. I have always worn belts but have a problem finding them in a size 26-28 since I am my biggest at my waist, so creating a gold belt was easier than trying to buy one.
The cardboard did not hold up very well at the daytime event where it was hot. So before Halloween night I put a little shellac (could use Mod Podge) to make the cuffs and tiara a little more robust and give them a little more body.

photos: Taken at Peralta Junction
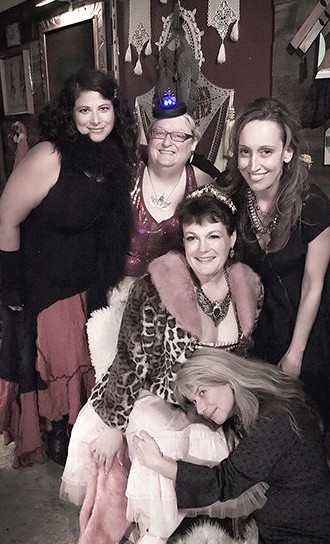
Middle photo: Leori Gill
Bottom Photo: Frankie Norstad
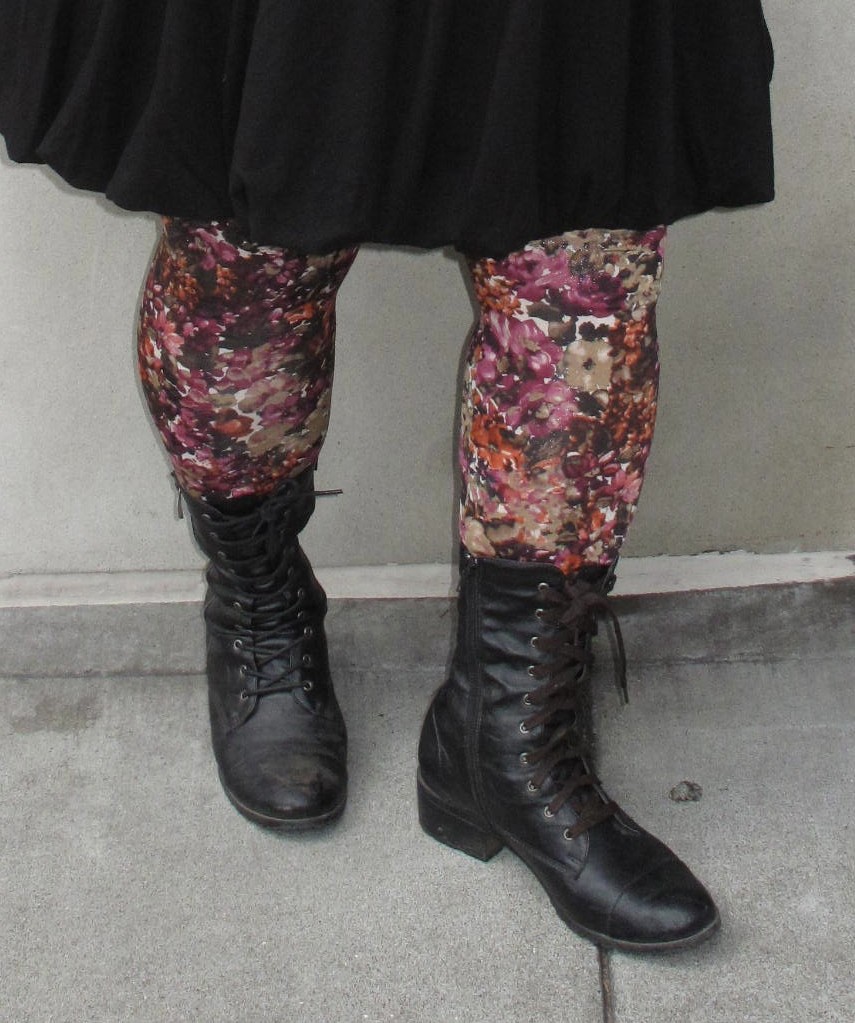
 These are some Size 2X 100% polyester tights I bought from Torrid this summer. The stretch comes from the fact that they are woven. They have a different sizing scheme since I wear a 4X in Tops and 5X in dresses and a 28 or 30 in pants at Torrid.
 I love them. I had been looking for something a little abstract in a plus size without much luck. I find them difficult to wear unless I am wearing all black so that is a little limiting, and the lace skirt and top from Torrid were probably a little too “lacey” for the abstract cotton looking leggings. Still looking for the perfect outfit.

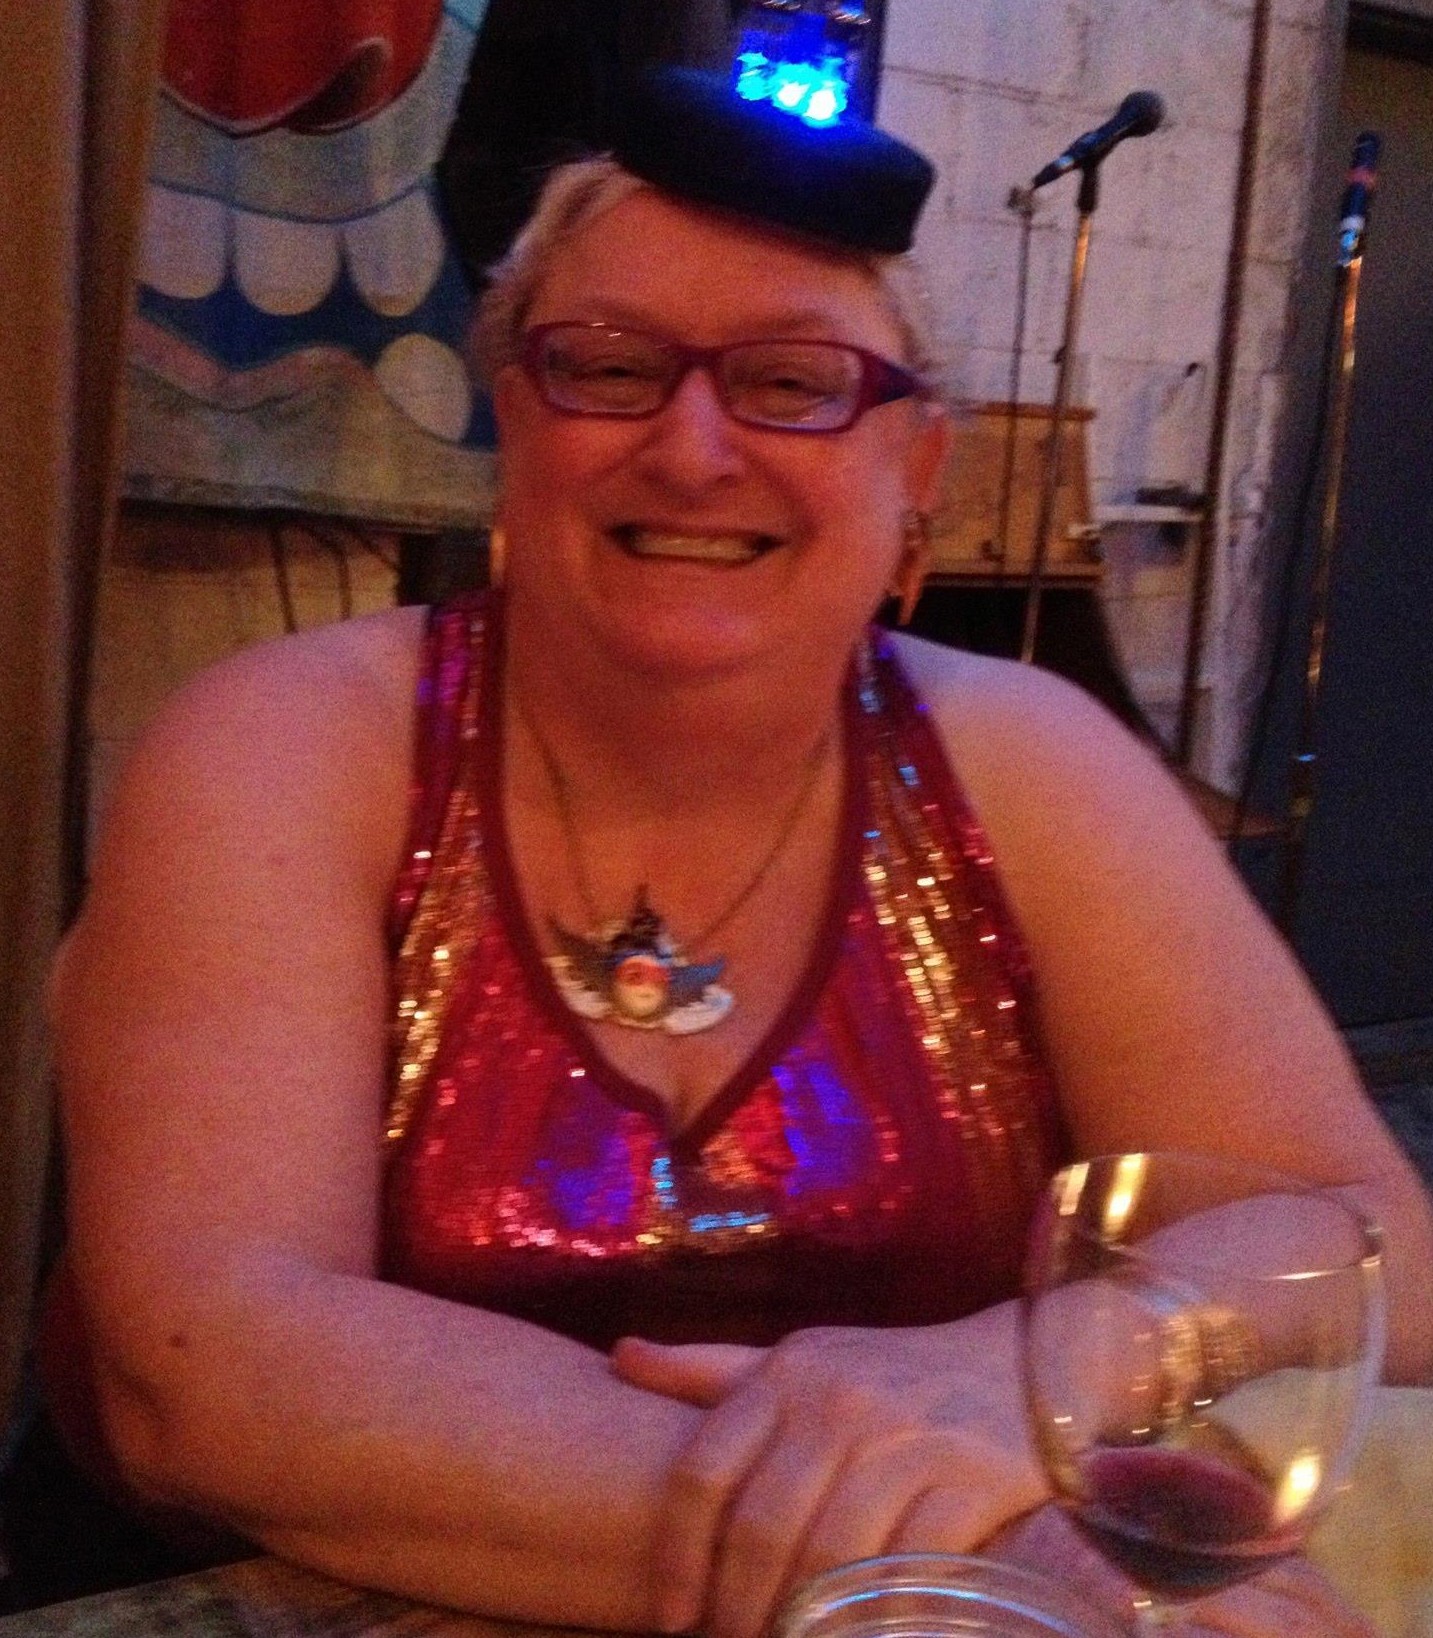
 I also made a hat with vacuum tubes from radios and televisions that I lit up with some LED lights , everyone tried it on as you will see. The first shot is in the dark so you can see how it looked without the flash. I used a little hat base and then attached it to a headband (thanks for that idea Janet, it was great). The batteries and LED lights are inside the hat in a little styrofoam to create some stability.
